
Table of Contents
Introduction: why a framework matters
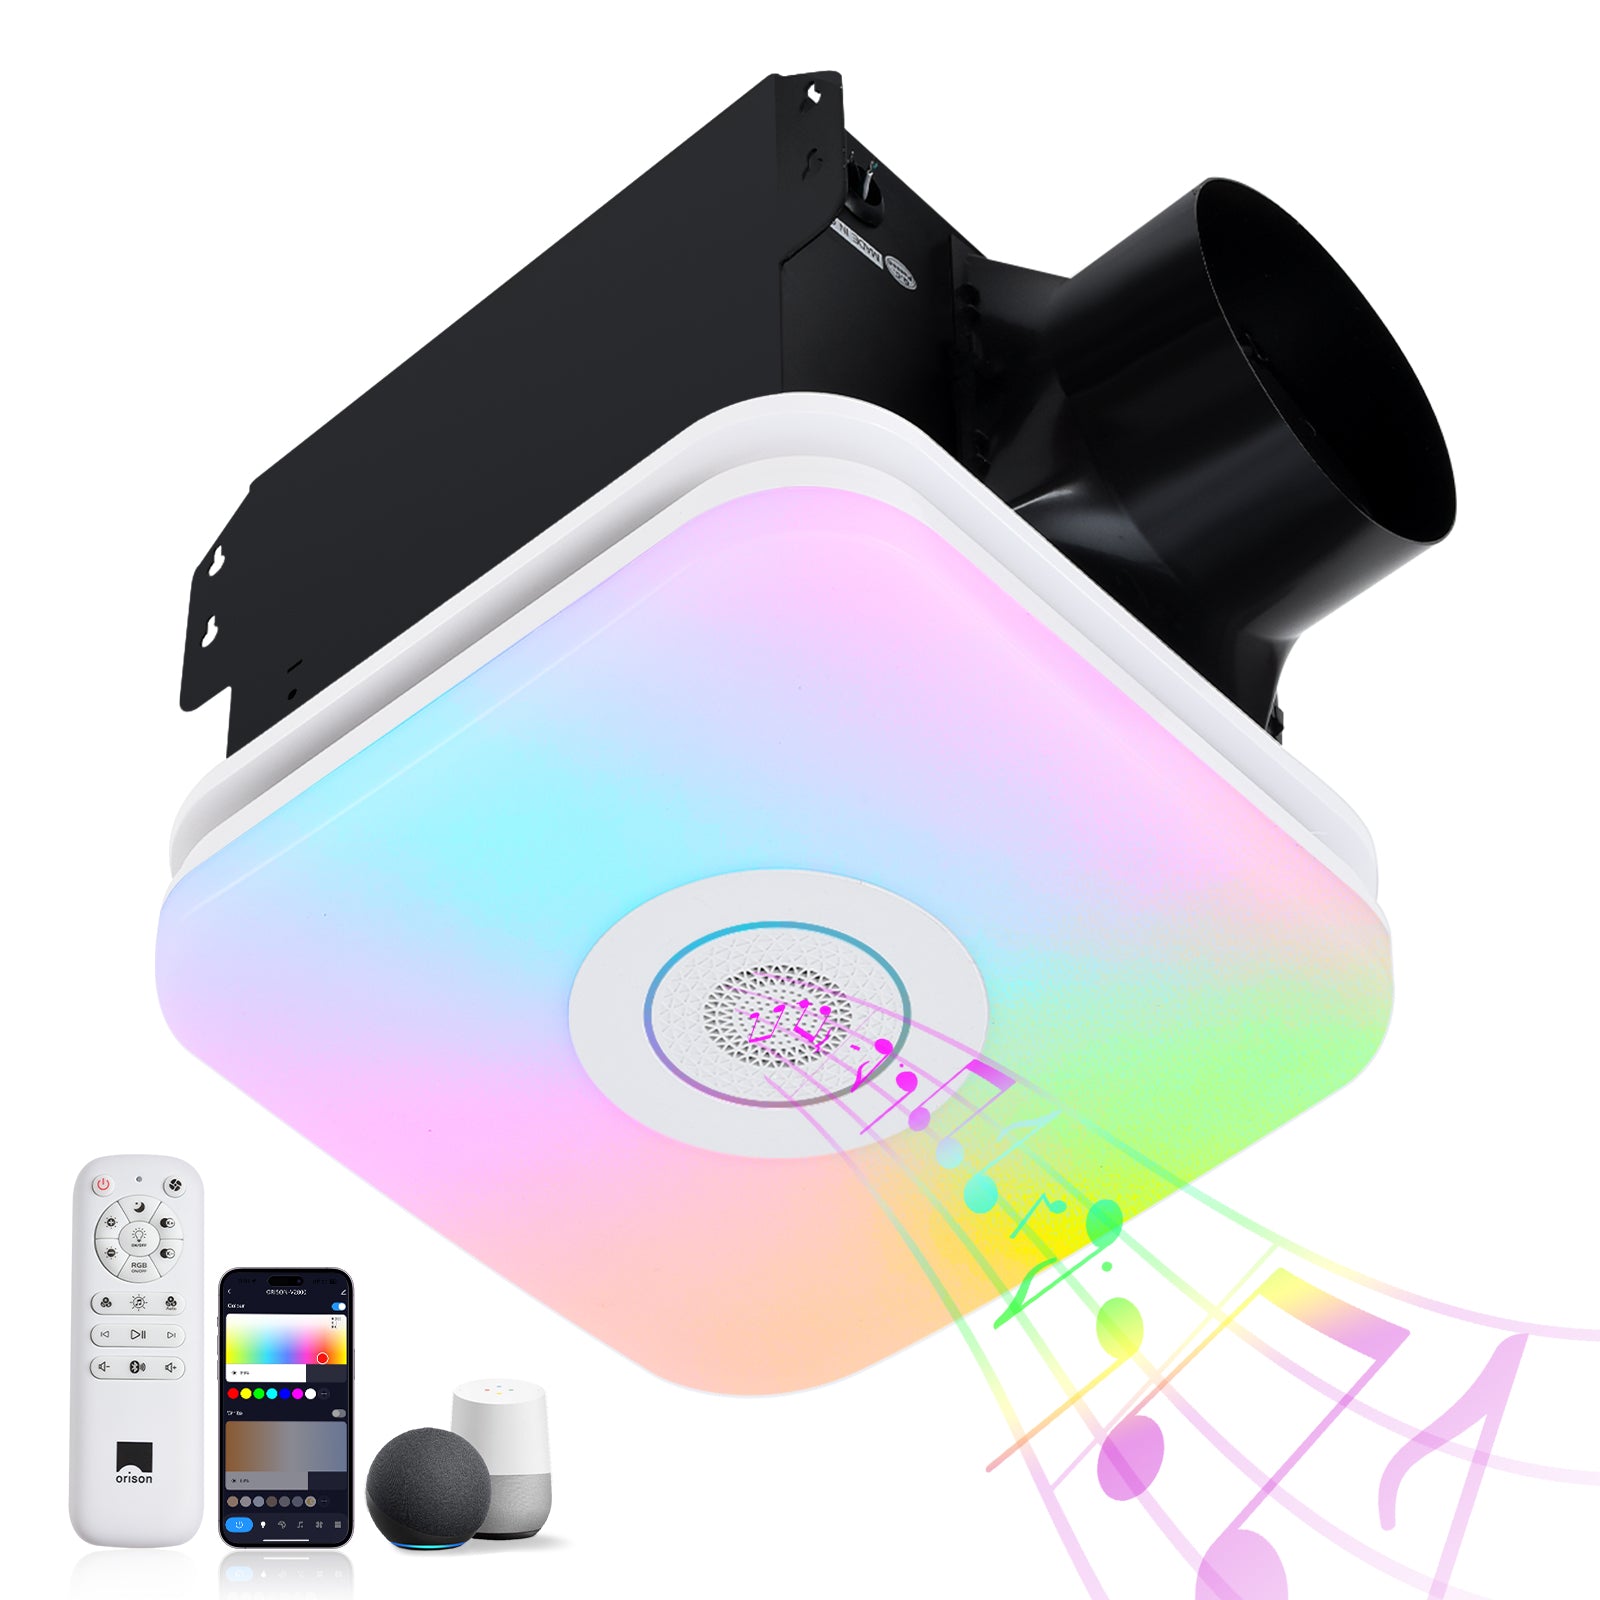
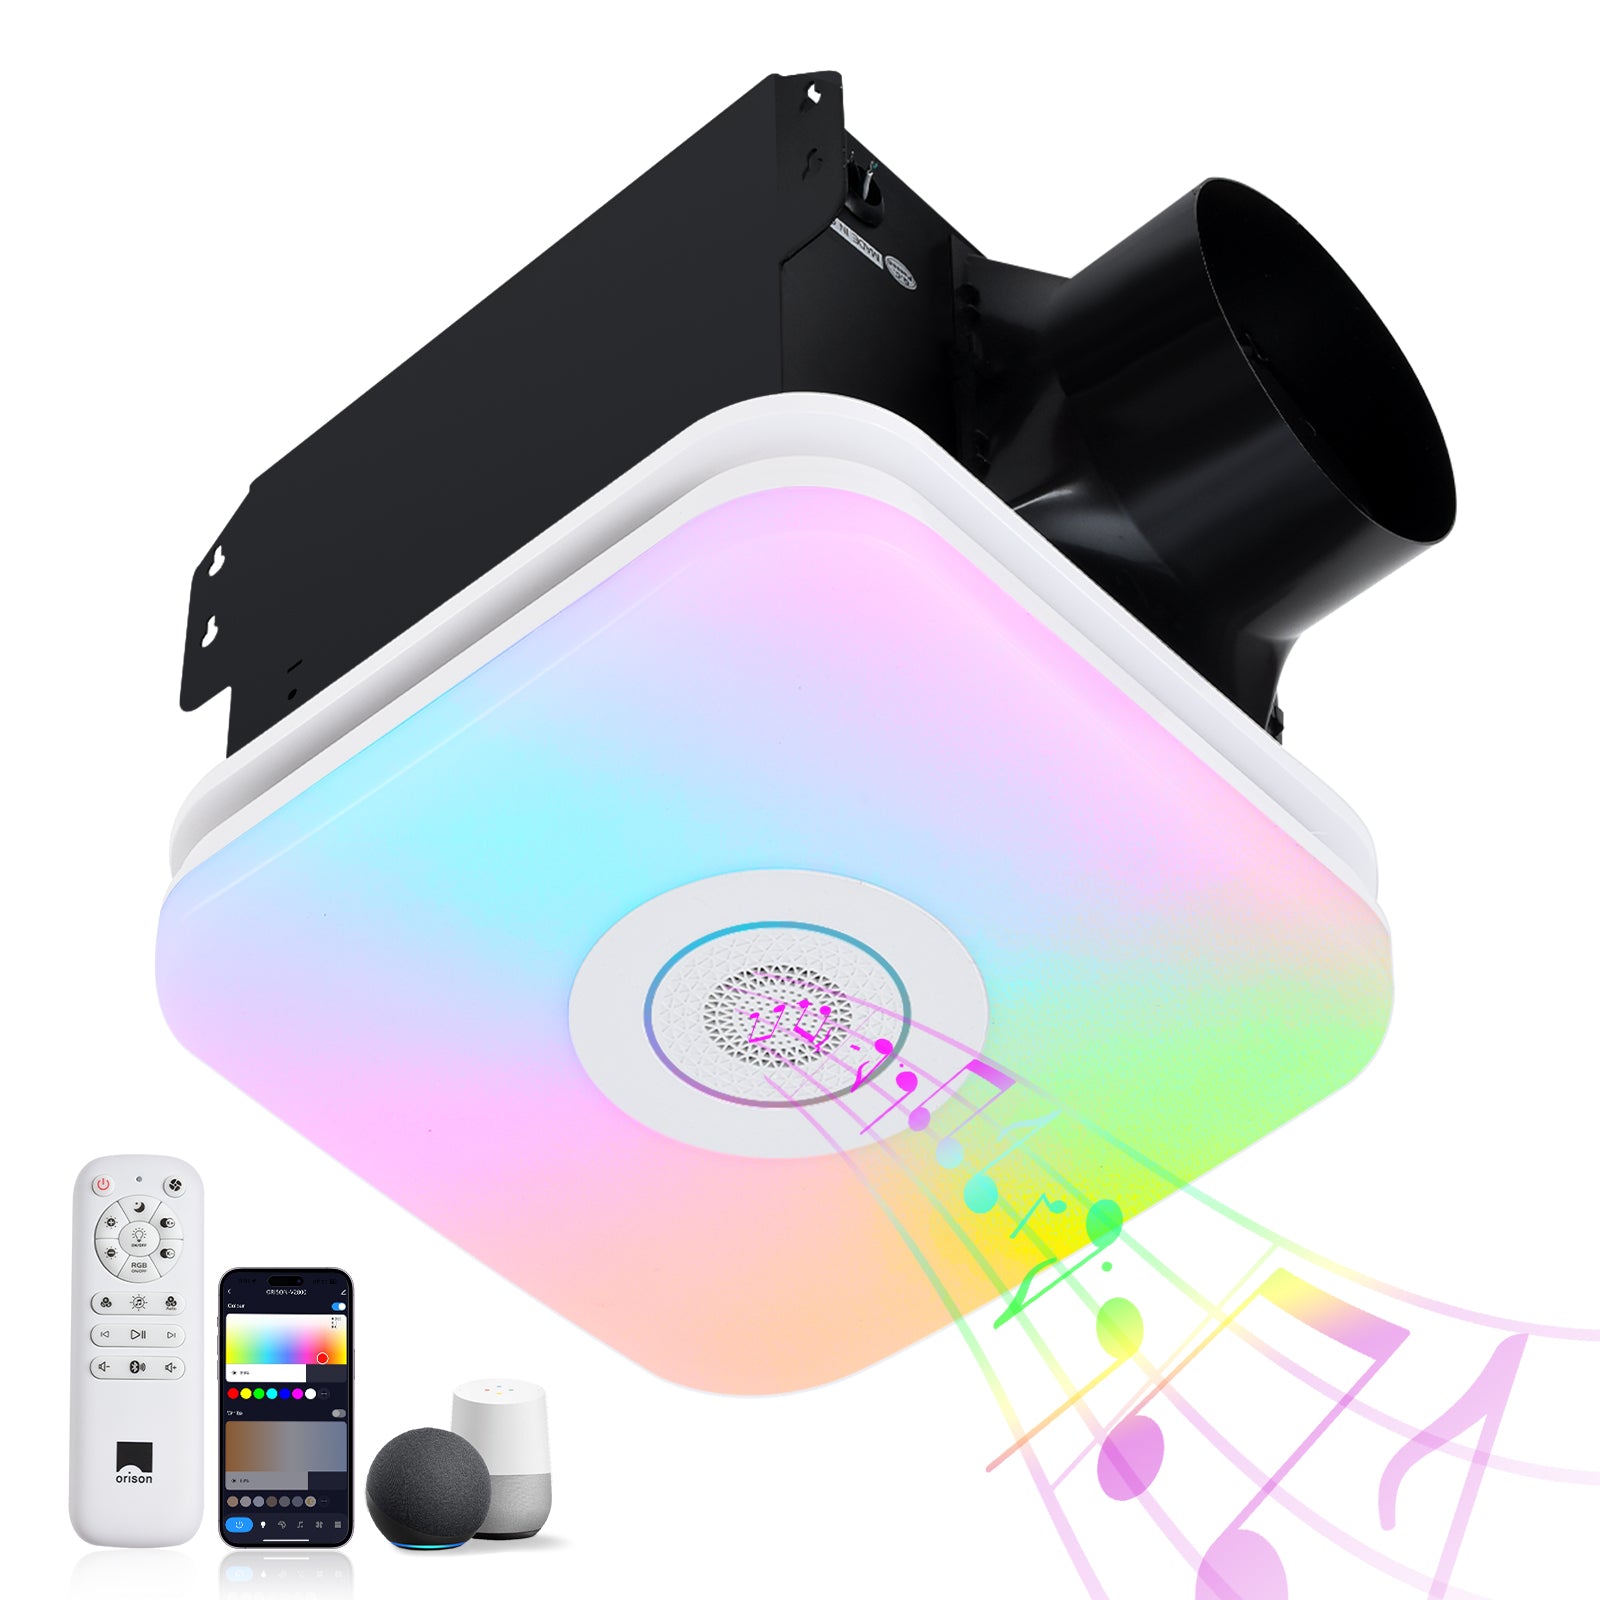
Installing a high‑CFM bathroom exhaust unit that incorporates lighting and smart features requires a methodical, safety‑first approach. This framework synthesizes selection, installation, and commissioning steps so that outcomes are measurable and replicable. If you are evaluating a model such as the bathroom exhaust fan with light, these same principles apply: verify airflow performance, ensure safe electrical connections, and confirm the device pairs cleanly with your control system before finishing the ceiling trim.
Key specifications to evaluate before purchase
Begin by collecting objective specifications: rated CFM (airflow), Sone rating (noise), motor type, UL listing, and recommended duct size. CFM determines how effectively the fan removes moisture and odors; Sone indicates perceived sound level during operation. Also confirm static pressure capabilities—many high‑CFM fans lose effective airflow when paired with long or convoluted ductwork. Finally, check whether the product supports smart pairing (Bluetooth or Wi‑Fi) and whether the light is compatible with the dimmer or control method you plan to use.
Pre‑installation checklist and regulation anchors
Prepare a checklist that includes electrical capacity (breaker size and spare slots), ceiling framing access, duct route, and required clearances. Reference industry guidance such as ASHRAE 62.2 and applicable sections of the International Residential Code as a real‑world anchor for ventilation intent and compliance. Secure the correct duct diameter and a backdraft damper, and obtain any required permits. Engage a licensed electrician when the work requires new cable runs or changes to circuiting—local code authorities will expect circuit protection and proper junction boxes.

Step‑by‑step installation (summary)
1) Power off the relevant breaker and verify de‑energized circuits. 2) Install the housing between joists or use a mounting bracket; ensure the housing flange sits flush with the ceiling plane. 3) Connect the ductwork with the shortest, straightest run possible; use rigid or semi‑rigid metal duct for best performance and seal joints with mastic or UL‑rated tape. 4) Make the electrical connections: follow the manufacturer’s wiring diagram for fan, light, and any separate controls. 5) Mount the grille, install the lamp(s) if required, and restore power to perform initial tests.
Pairing, commissioning, and performance verification
Commissioning should test both mechanical and electronic functions. Verify CFM performance at the grille with an anemometer or calculate based on motor specs and static pressure if a flow hood is not available. Test Sone by running at multiple speeds and noting noise at standing distance. For smart features, pair the unit to its app or control interface following the manufacturer’s sequence—often a short press sequence enables Bluetooth discoverability. Ensure the unit reports status and responds to remote commands, and verify that the light dimming function works without flicker. If the unit includes a Bluetooth speaker, confirm audio pairing and that the speaker does not interfere with fan controls.
Common mistakes and troubleshooting — practical notes
Installers commonly undersize the duct or run it with excessive elbows; those choices reduce effective CFM and can leave rooms damp. Another frequent error is using the wrong type of dimmer for the integrated light—LED‑rated, trailing‑edge dimmers are typically required. Wiring mistakes include shared neutrals or incorrectly tied circuits; never assume color codes across older installations. – If the fan runs but airflow is weak, inspect the damper and the external vent cap for obstruction and confirm duct diameter continuity. Address motor overheating by verifying airflow and confirming the motor is receiving correct voltage.
Safety and maintenance considerations
Regular maintenance prolongs service life: clean the grille and fan blades every six months, replace lamps per rating, and inspect duct joints annually. Confirm the external vent terminates with a weather‑resistant cap and that the backdraft damper closes when the fan is off. For bathrooms in high‑humidity climates or in coastal areas, corrosion‑resistant housing and sealed electrical connectors extend reliability. When in doubt regarding wiring or structural modifications, retain licensed professionals to avoid safety violations or voided product warranties.
Advisory: three golden rules for selection and installation
1) Match functional capacity to the room: select a fan whose rated CFM maintains recommended ventilation for the bathroom size under realistic duct runs. 2) Prioritize effective ductwork: rigid or semi‑rigid metal duct, minimal length, and smooth transitions preserve CFM and reduce noise. 3) Verify control compatibility: ensure dimmers, timers, and smart hubs are specified by the manufacturer or are explicitly listed as compatible to avoid flicker, performance loss, or pairing failures.
Follow these rules and the framework above to convert a product specification into a dependable installed system—one that performs quietly, safely, and reliably. For integrated devices that combine ventilation, light, and connected audio, consider models designed with coordinated hardware and firmware to simplify commissioning; in practice, that alignment is where manufacturers like Orison deliver measurable value. —
