
Table of Contents
Why this matters to you — quick, user-focused intro
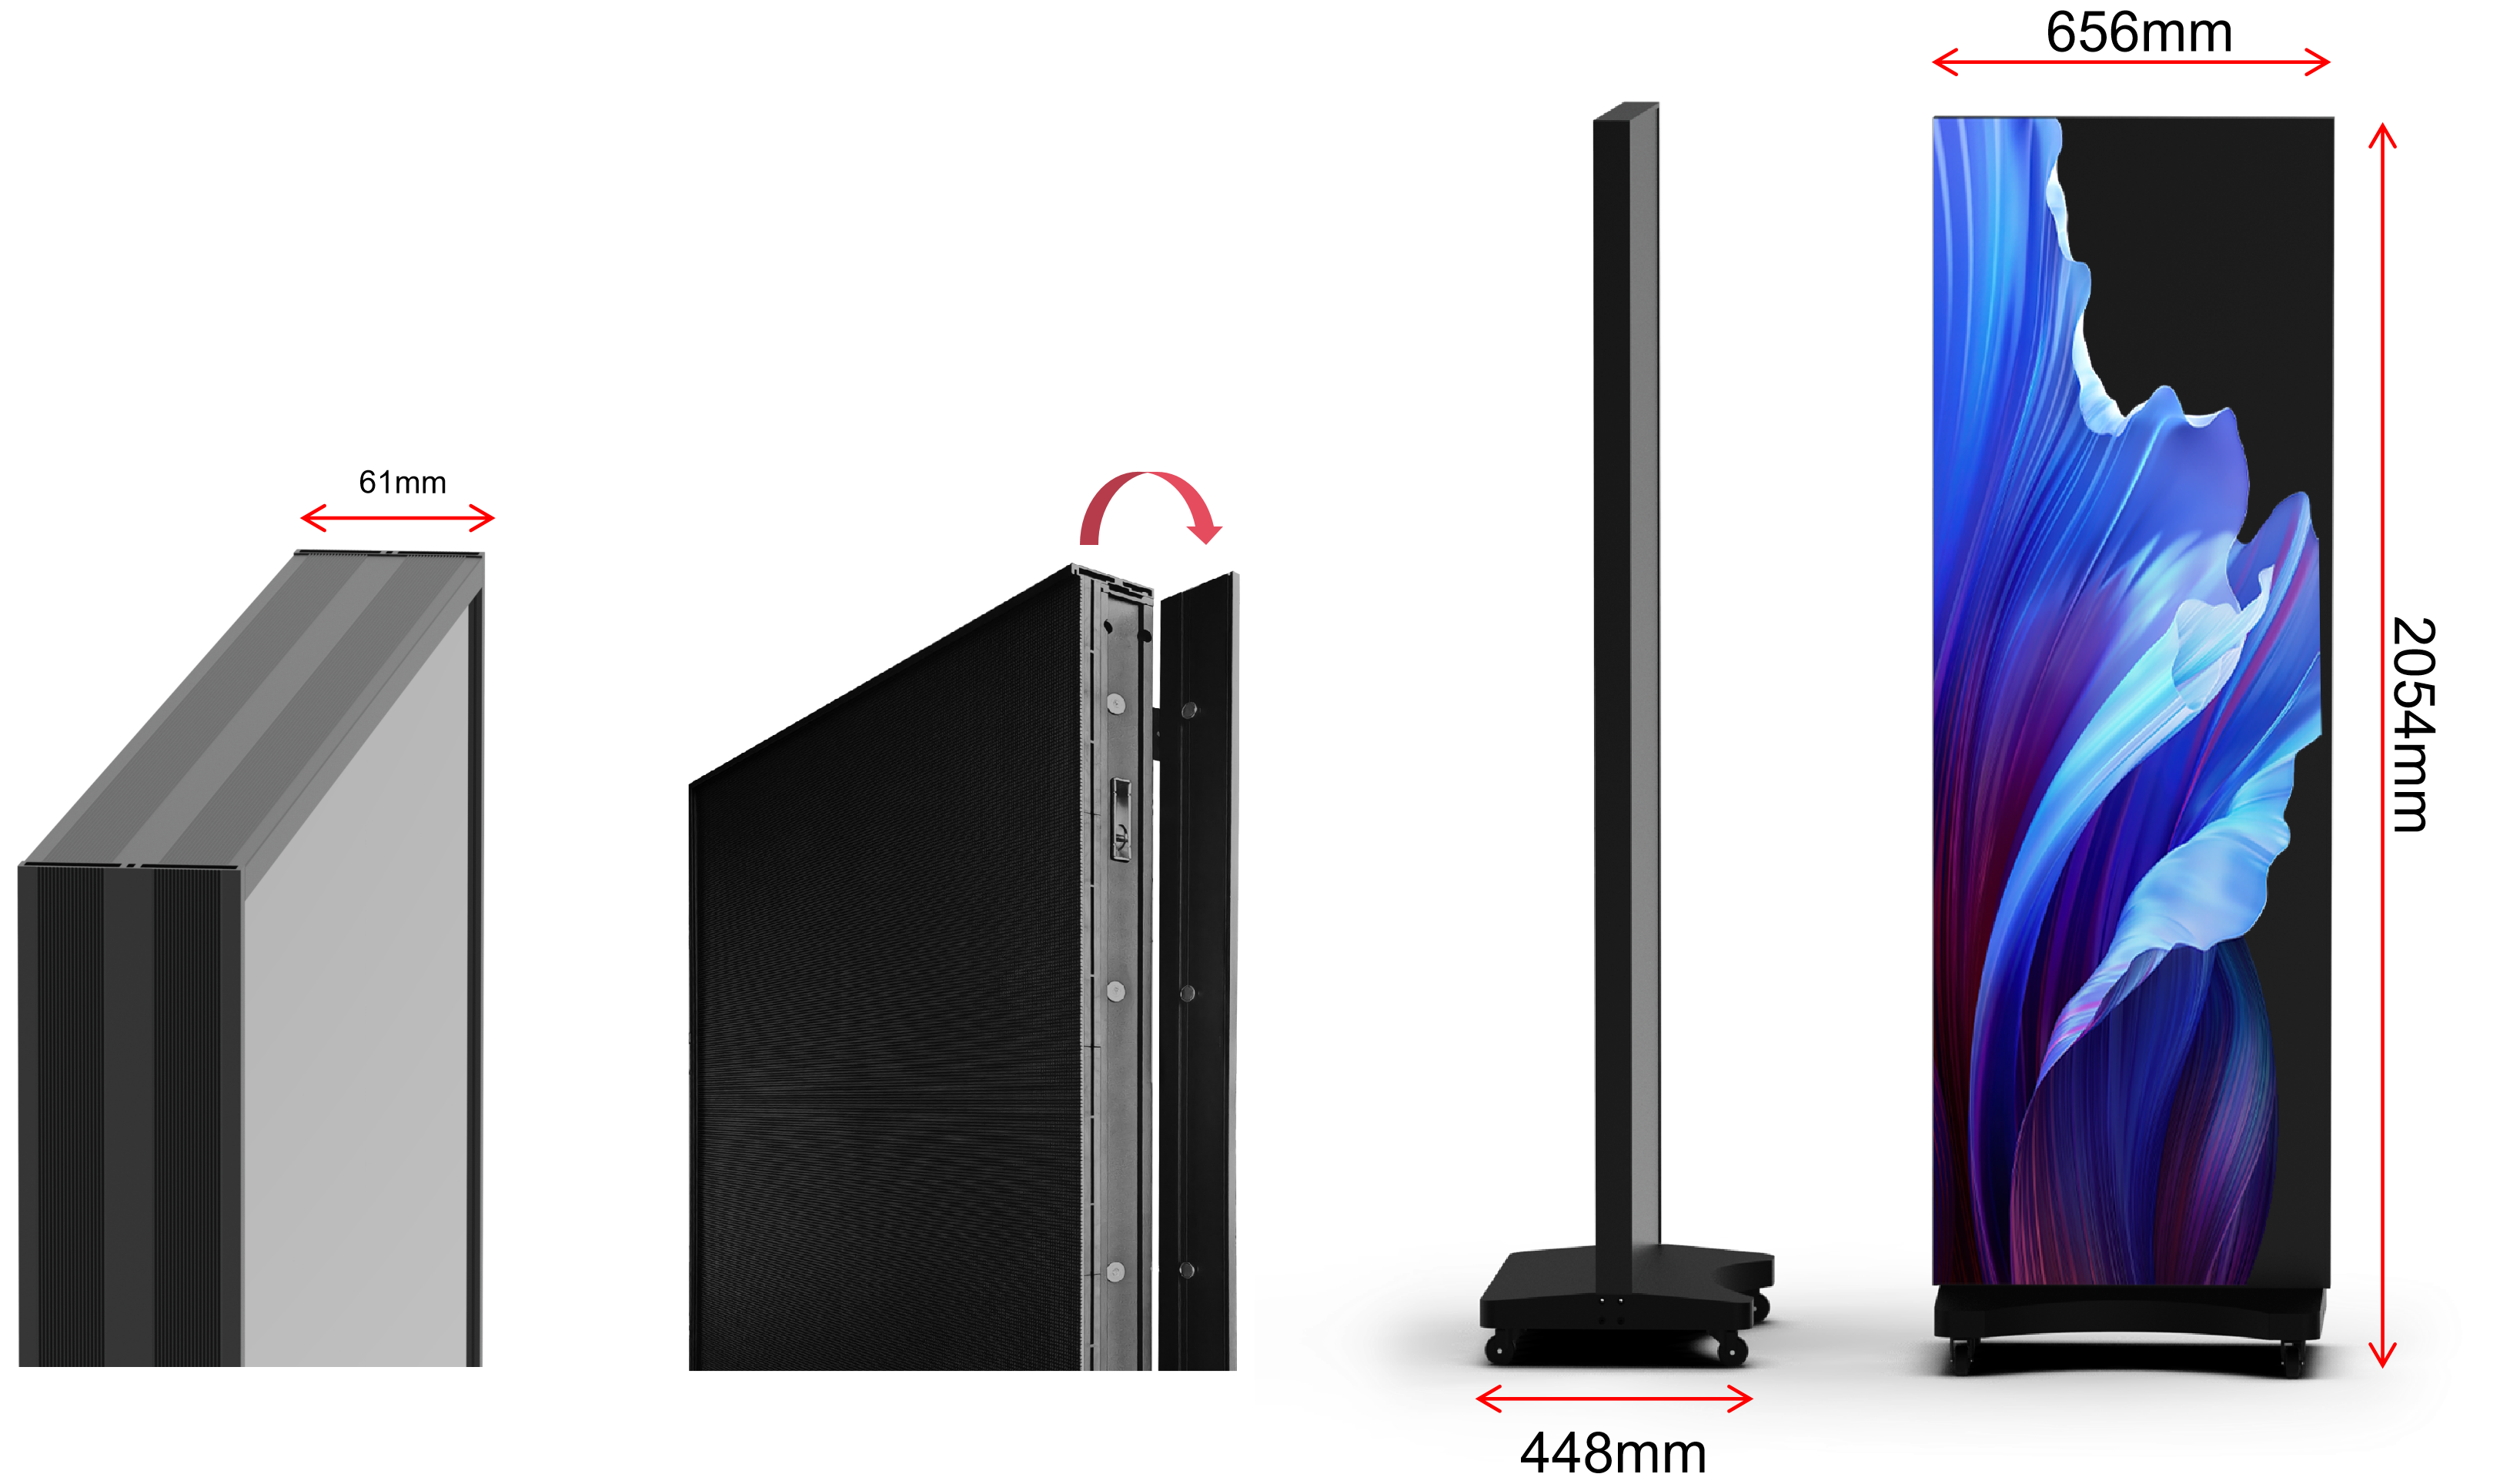
You’re juggling viewing distance, budget, and the people who actually watch the screen — that’s the starting point. I’ve spent years specifying LED panels for retail and transit installs, and decisions that sound small (pixel pitch, brightness, service access) end up shaping the whole project. If you want a simple, reliable option that often solves common constraints, look at led poster displays as a baseline when you’re testing layout and content. Real-world installations like those lighting major outdoor corridors around Times Square show how viewing distance and ambient light change every technical choice you make.
Define who’s watching and from where
Start with three straight questions: How far is the nearest viewer? How long will they look at the screen? What’s the ambient light? For close-up engagement (1–3 m) pick fine-pitch (around P1.2–P2.5). For pass-by audiences (3–10 m), P2.5–P4 is a solid compromise. For long-distance or large outdoor signage, P4 and above works and cuts cost. Brightness: indoor retail usually needs lower peak nits than a street-facing display; outdoor installations need 3,000+ nits to stay legible in daylight. Match pixel pitch and brightness to actual viewing distance and light — not wishful thinking.

Practical spec checklist you can use right now
Resolution and pixel pitch: pick the smallest pitch you can reasonably afford for the viewing distance. Brightness: choose a spec with headroom versus measured site lux. Refresh rate: higher refresh rates reduce camera flicker and visible flicker; aim for at least a mid-range spec if you expect filmed content. Contrast and color calibration: ask for factory calibration and the option for on-site fine-tuning. Power and cooling: confirm continuous duty ratings and ventilation needs. Serviceability: make sure front or rear access is possible where you’ll mount it. Cabling and controllers: verify supported inputs (HDMI/DP/Art-Net/etc.) and whether you need a scaler. Warranty and spare parts: get clear SLAs for module replacement and on-site response.
Common mistakes users make — and how to avoid them
Buying the brightest panel and regretting it: brightness costs power and creates heat — match to measured ambient lux. Picking pixel pitch by price alone: low pitch matters only when viewers are close. Ignoring maintenance access: if panels are ceiling-mounted without front access, maintenance costs spike. Forgetting the content: poor content planning makes even a great display look bad; plan assets at the correct resolution. Overlooking power distribution and cooling: underspec’ing breakers or airflow causes failures. Not vetting refresh rate: if your display will be filmed, test with a camera early.
Alternatives and when to choose them
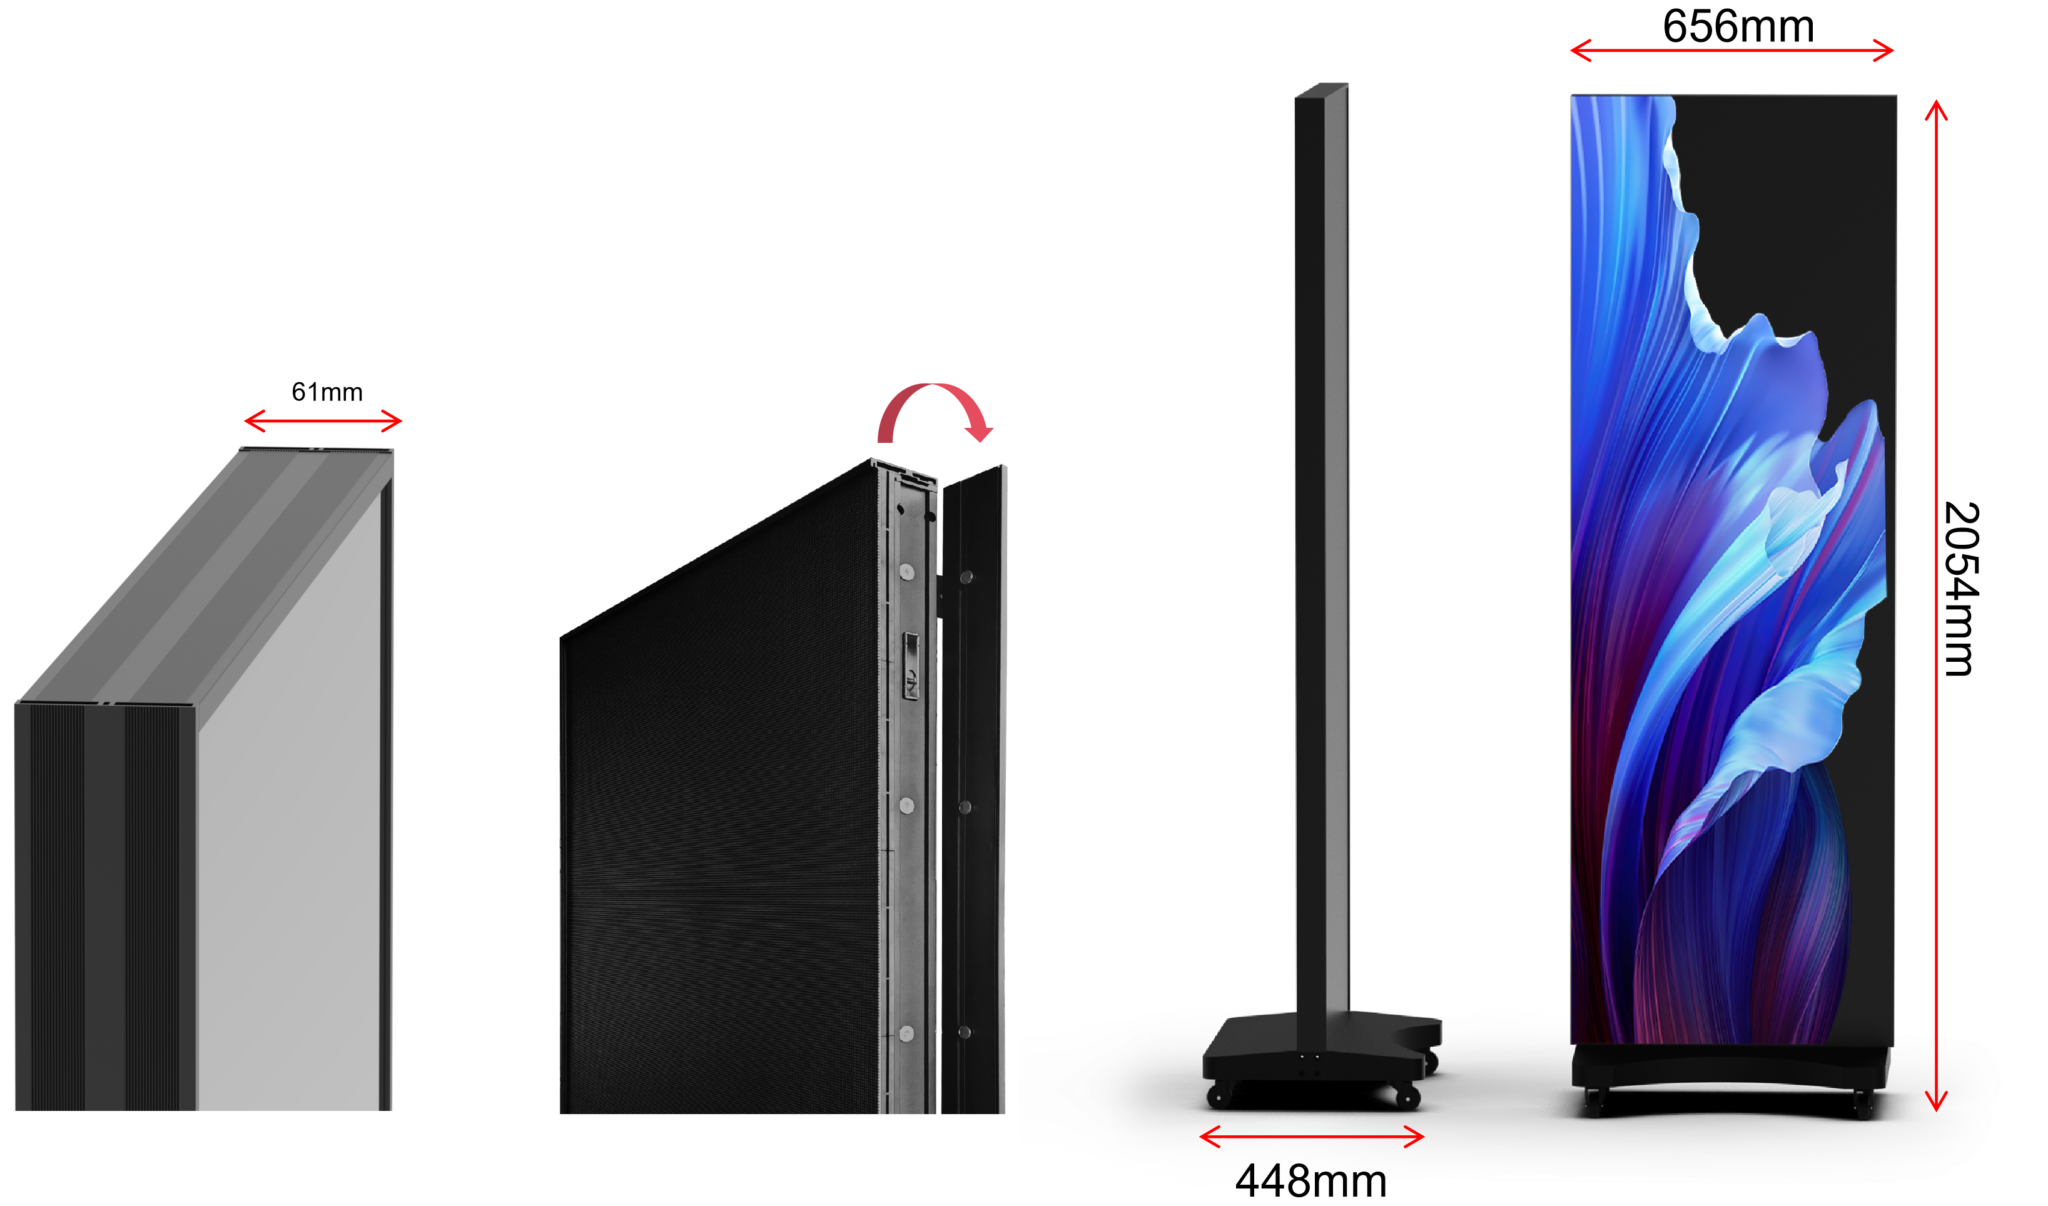
All-in-one LED posters are great for quick installs and single-sided retail messaging — they minimize control-box complexity and speed rollout. Fine-pitch modular walls suit high-detail environments where you’ll show close-up content often. LCD kiosks work if you need lower brightness indoors and lower cost, but they lose the seamless, large-format advantage of LEDs. Projection is tempting for very large surfaces but requires controlled ambient light and regular alignment. Choose the technology that fits who’s looking and how they’ll move.
Final thought — a simple decision path
Decide who’s watching, measure the site, match pixel pitch and brightness to those numbers, and insist on serviceability and clear SLAs. Do that, and your risk drops dramatically. If you want a straightforward, install-friendly starting point that often hits the sweet spot for retail and quick deployments, consider what HDC offers and use the checklist above to compare specs rather than sales copy — that’s what separates a screen that works from one that just looks good on paper.
