
Table of Contents
Opening: The problem that halts predictable outcomes
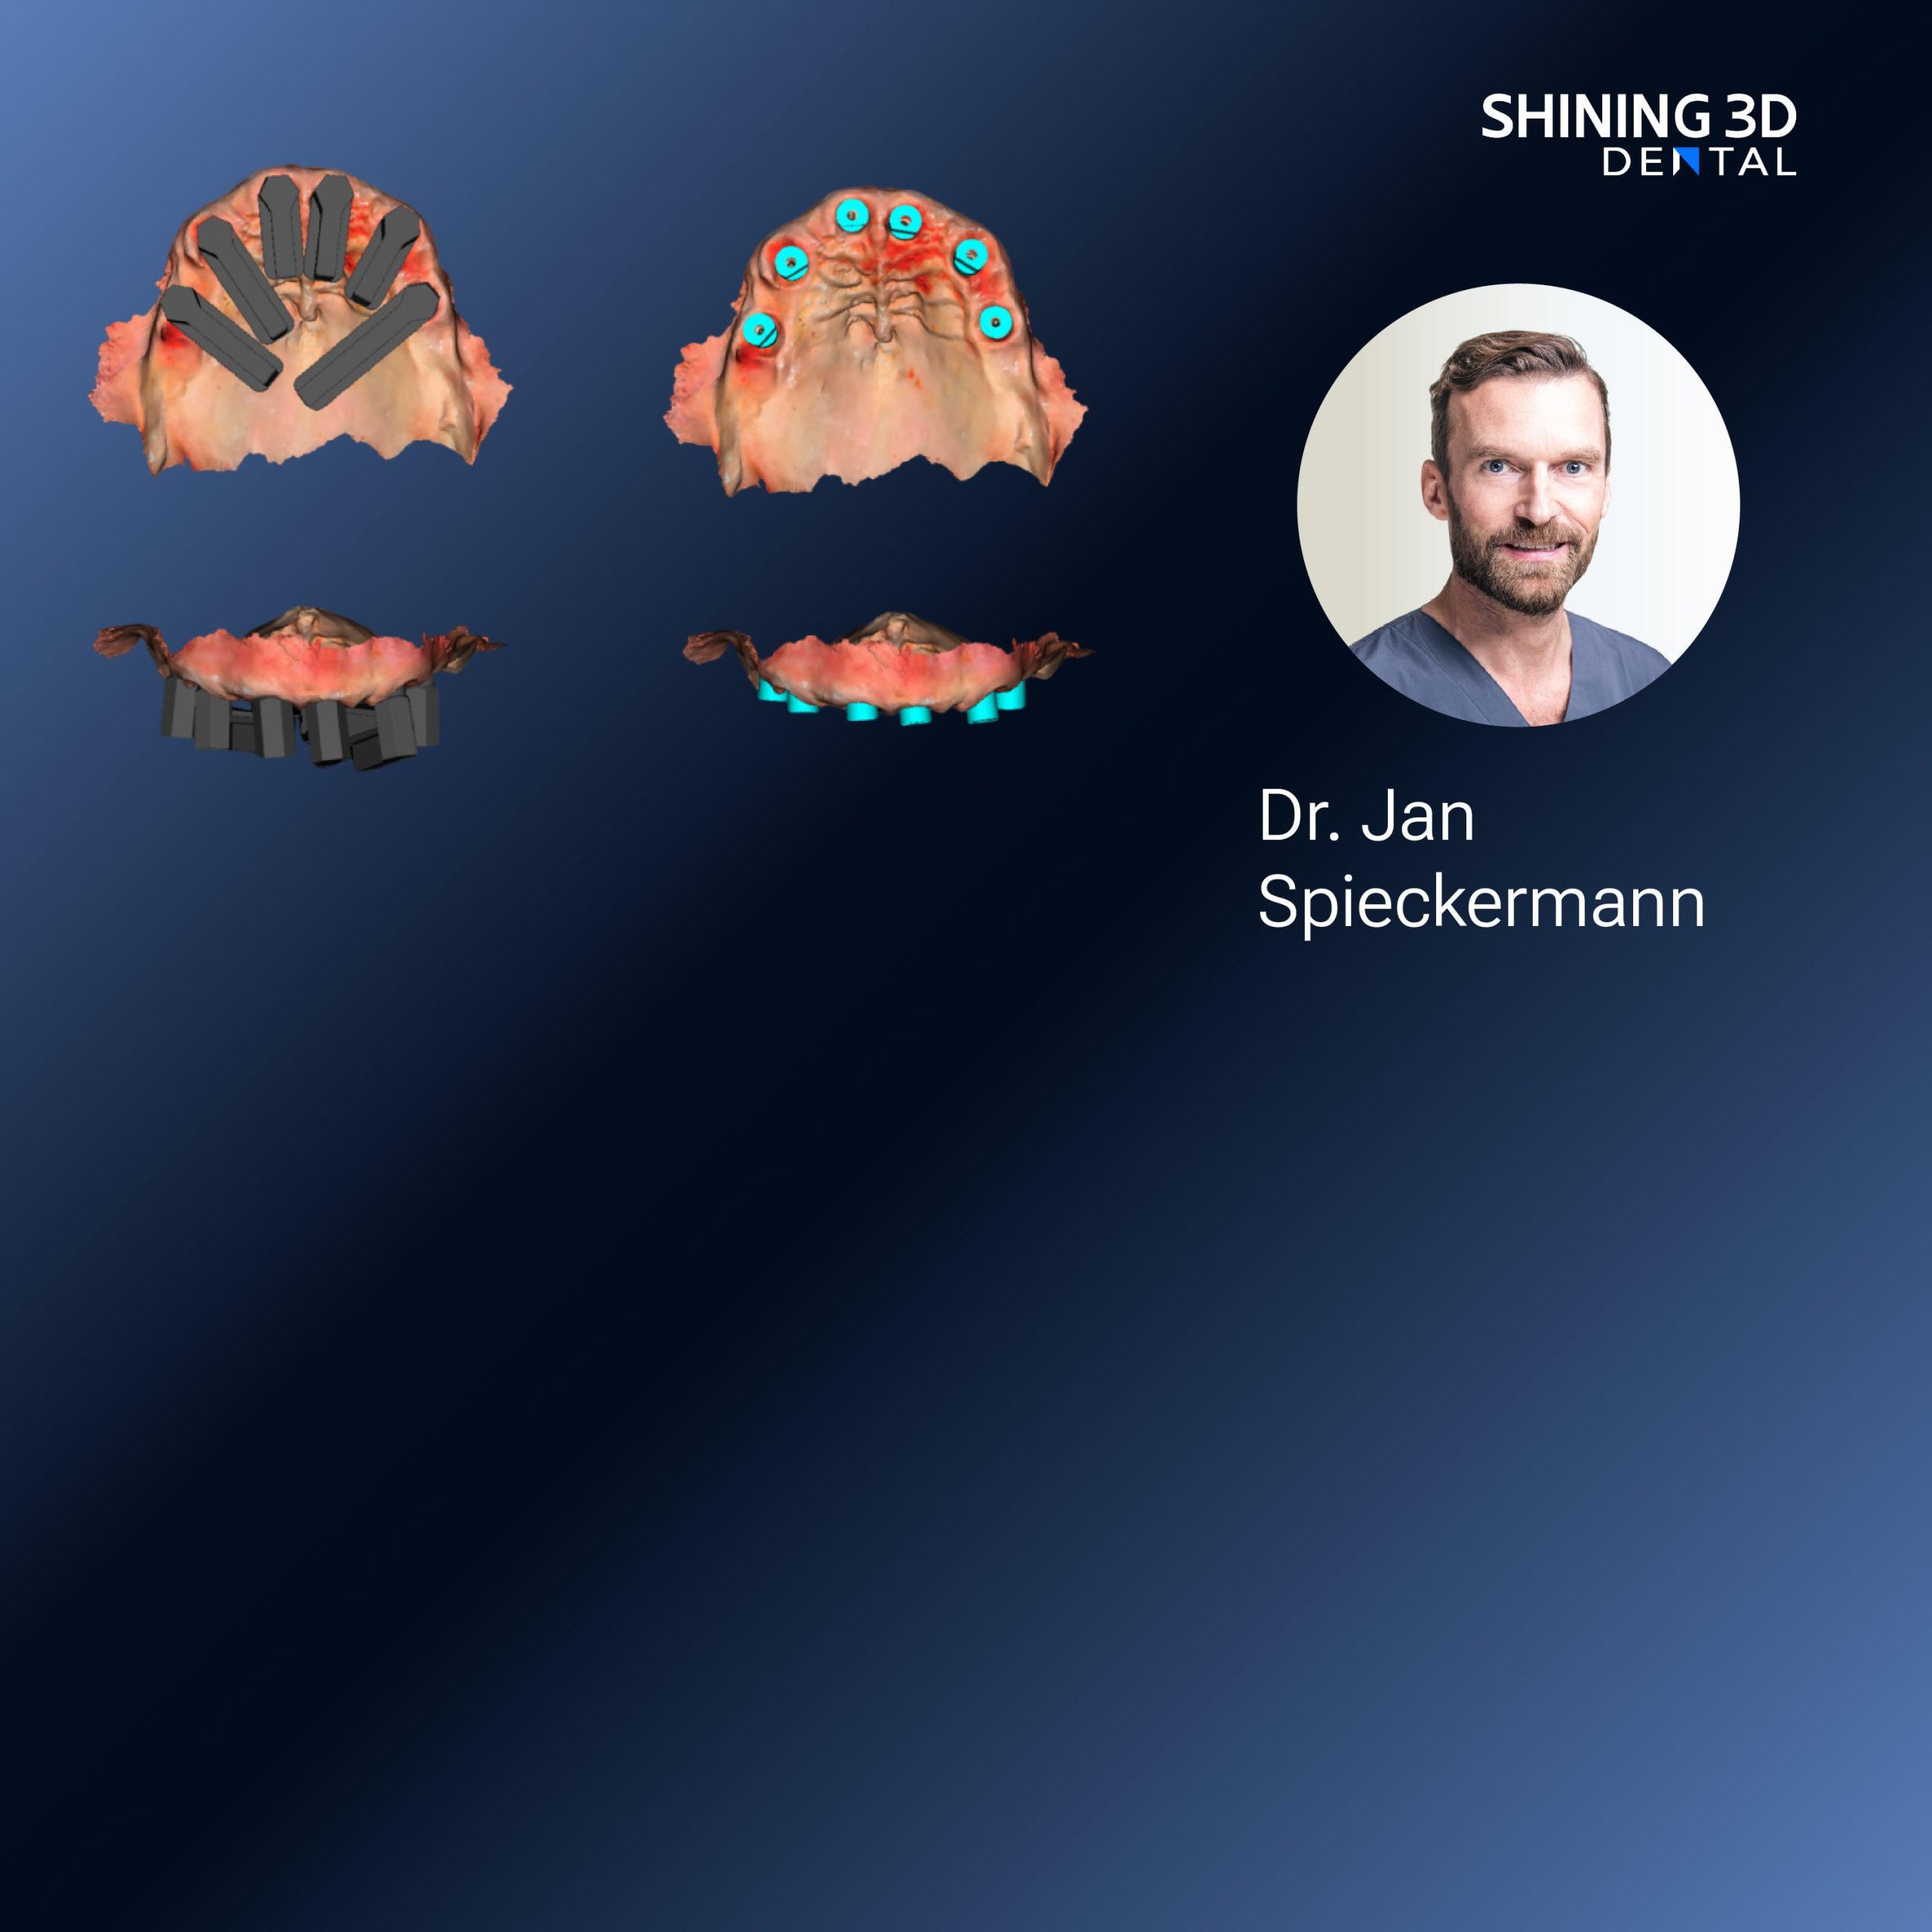
Workflow breakdowns—misaligned implant positions, unclear soft-tissue margins, and repeated lab remakes—are common when teams rely on ad hoc capture methods rather than a coordinated digital protocol. Adding controlled surface capture changes the equation, and a reliable Photogrammetry 3D scanner can be the difference between a single-visit resolution and multiple adjustments. This article follows a problem-driven path: identify the recurring failures, isolate their causes, and provide a concise checklist you can apply the next time you plan a denture-supported implant case.
Core problems that stall digital denture implant cases
Frequent issues include: inaccurate implant positional data; inconsistent soft-tissue capture around denture borders; poor bite registration when provisional prostheses are involved; and incompatible file-handling between clinic and lab. Each problem leads to extra appointments and material waste. The checklist below targets those specific failure modes with practical, verifiable steps.
Root causes in clinical and lab practice
Errors usually come from three sources: capture technique, hardware limits, and handoffs. Capture technique faults are operator-dependent—scanning order, angulation, and isolation matter. Hardware limits show up when devices lack cross-compatibility for multi-scan alignment. Handoffs fail when file formats, scan metadata, or reference markers aren’t standardized. Fixing one area without addressing the others won’t stop rework.

Checklist: capture, transfer, and verification steps
1) Plan the case: record implant system, torque values, and the required emergence profile before scanning; 2) Mark and photograph reference points on the denture base and adjacent mucosa to aid registration; 3) Capture implants with a controlled sequence—scan scanbody positions first, then soft tissue, then opposing arch; 4) Use fixed, known-angle passes and avoid stitching long single sweeps that introduce cumulative error; 5) Export raw scan data plus STL and point-cloud where available; 6) Validate implant position by overlaying scanbodies against the planned implant library in the CAD system; 7) Confirm interocclusal registration with a physical bite record and a digital buccal scan; 8) Send a verification model (digital or printed) to the lab for fit check before definitive milling or printing; 9) Log all versions and notes in the patient chart to prevent mismatches on revisions.
Common pitfalls and smart alternatives
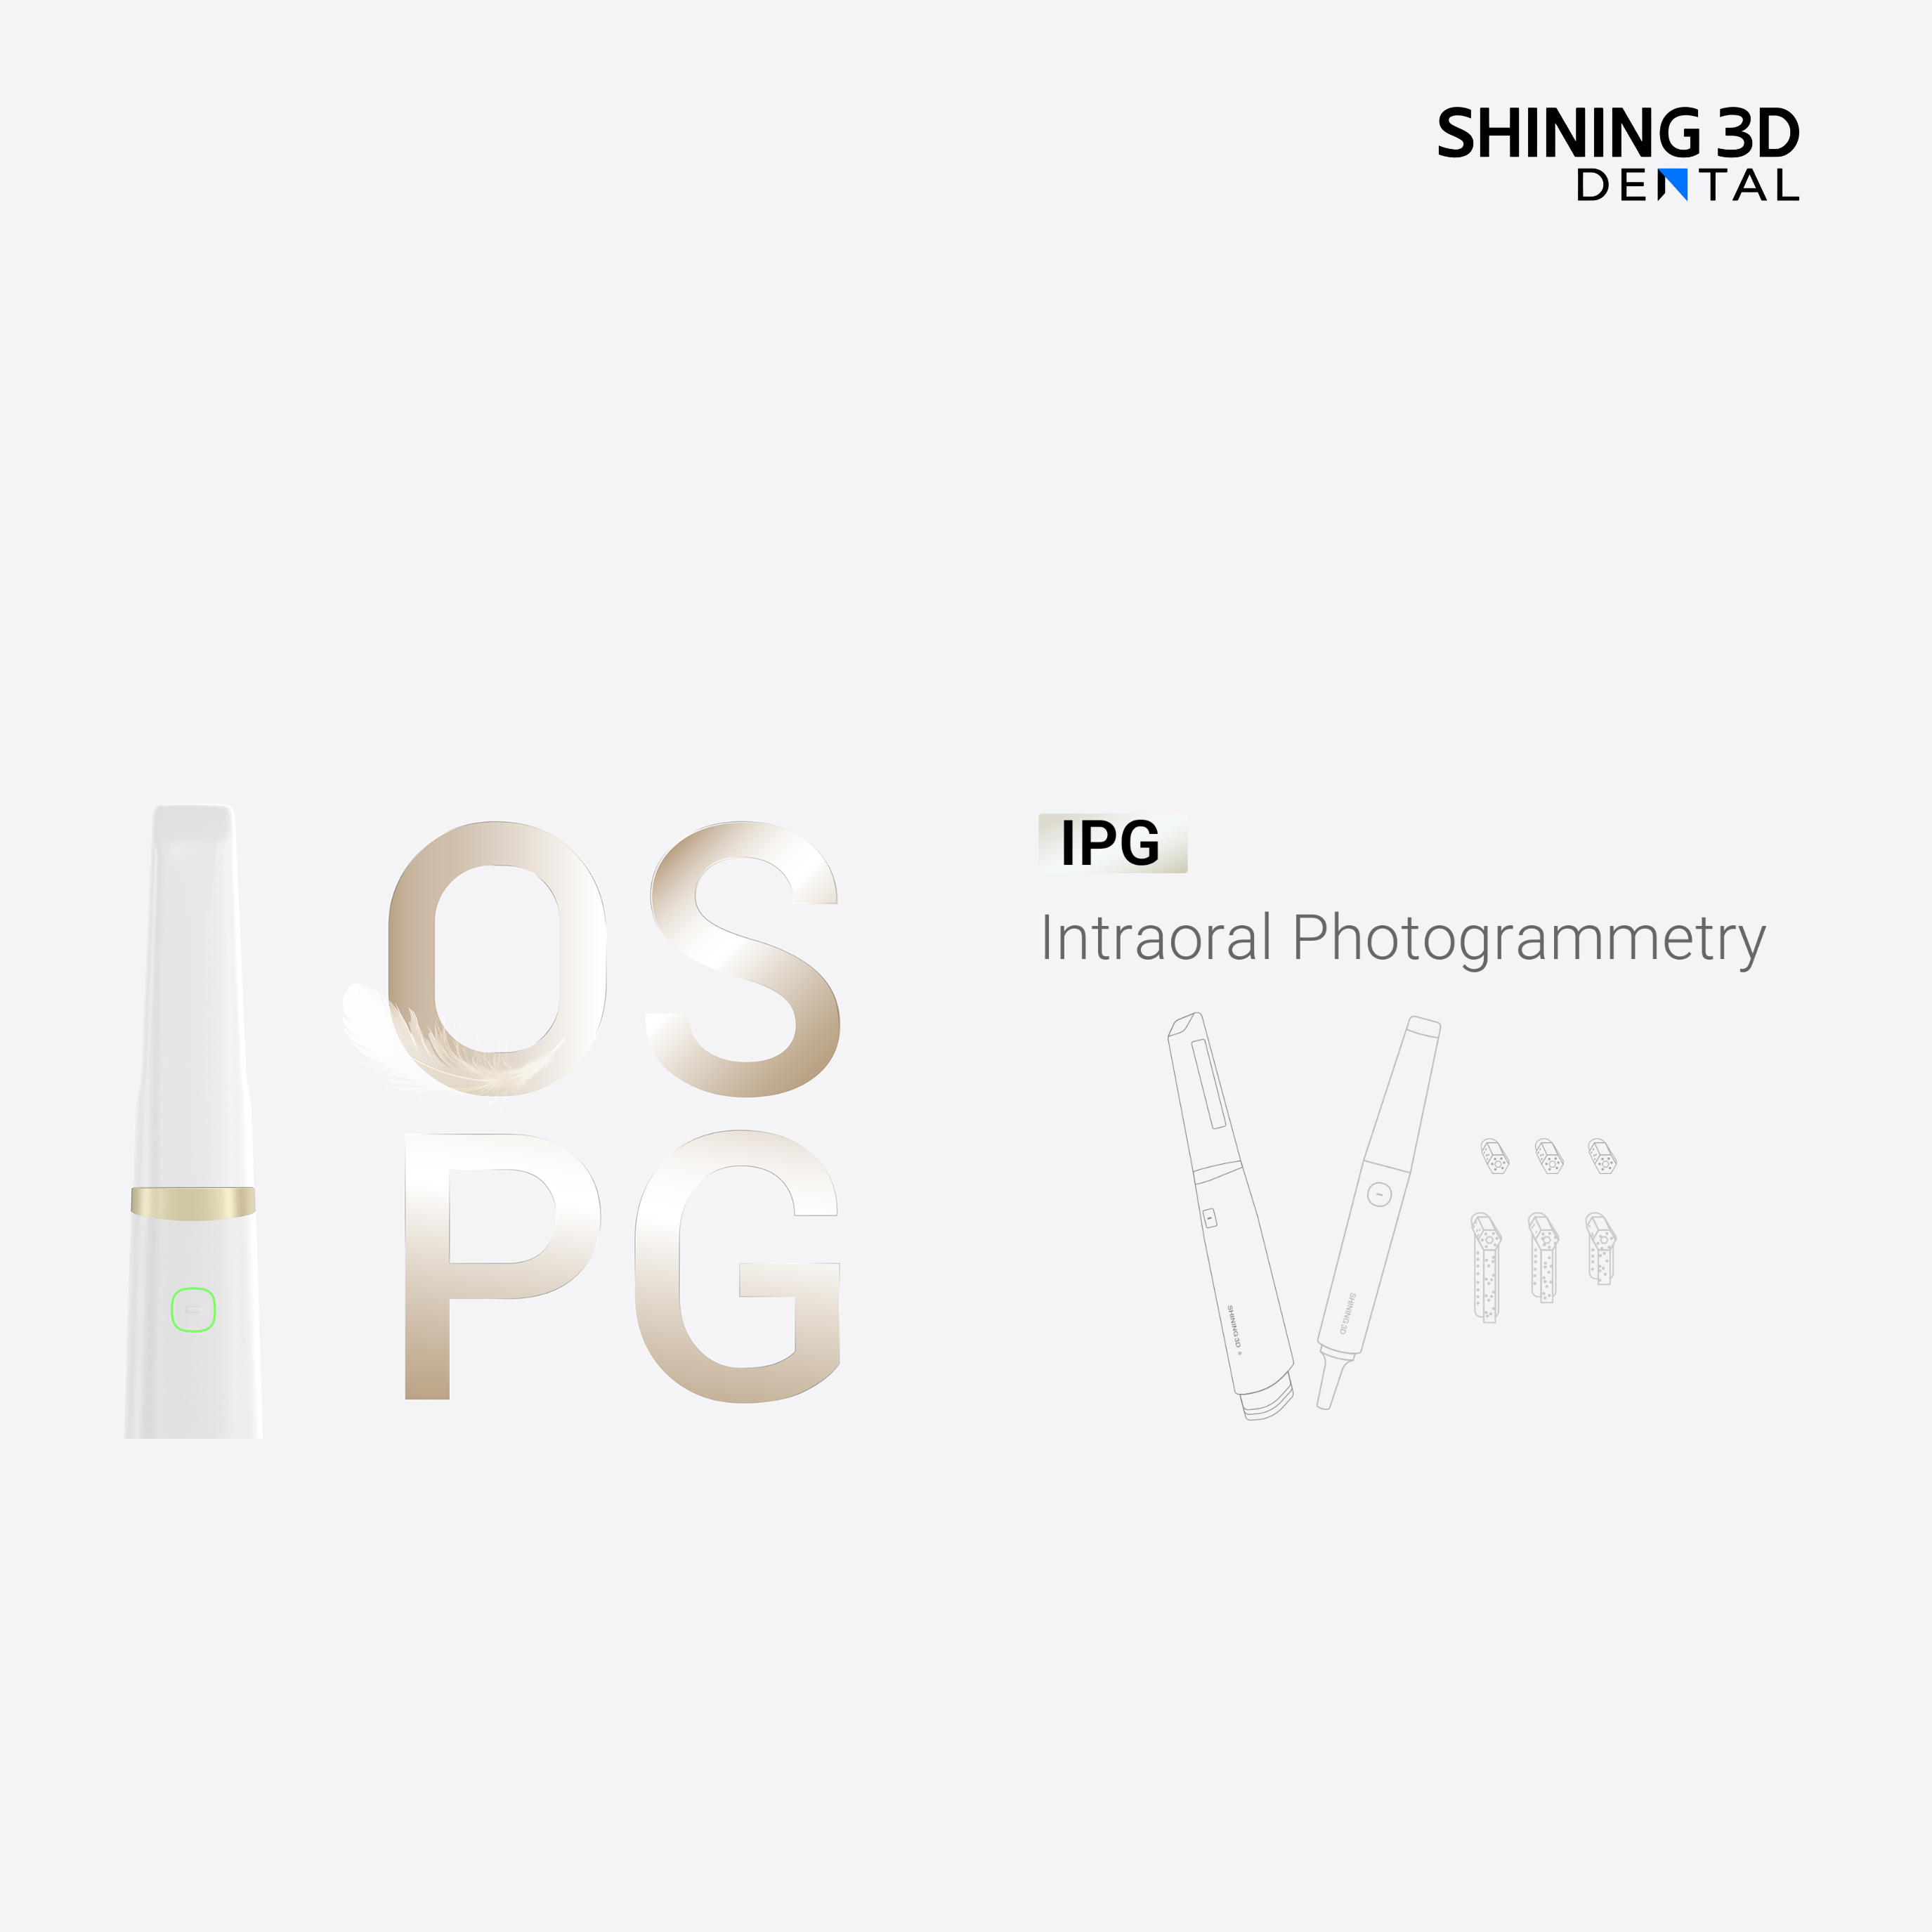
Relying solely on freehand intraoral scanning for edentulous spans often leads to drift; using short, repeatable passes with reference markers reduces that risk. Desktop scanning of impressions can work, but it adds steps and potential distortion. Photogrammetry excels for precise implant position capture; point-based photogrammetry and structured light scanners each have roles—choose based on the task, not brand hype. Avoid assuming a single data export will satisfy the lab; confirm the preferred format and version before you send files.
Real-world anchor and validation
At the American Dental Association (ADA) annual meeting, clinicians and lab technicians routinely discuss case studies where a coordinated capture protocol cut remakes by a noticeable margin; those conversations emphasize consistent device calibration and scanbody verification. Practical clinic and lab experience confirms that pairing a calibrated capture device with standardized scan protocols prevents the most common errors when using an intraoral scanner for dentures.
Final synthesis and practical value
Addressing implant-supported denture failures starts with a tight, repeatable capture protocol and ends with verified data transfer to the lab. Apply the checklist: plan, mark, capture in sequence, export validated files, and confirm fit with a verification model. Teams that adopt these steps and evaluate capture hardware and software in line with established vendor workflows—such as those reflected in research and product design from SHINING 3D DENTAL—reduce rework and deliver predictable prosthetic outcomes.
